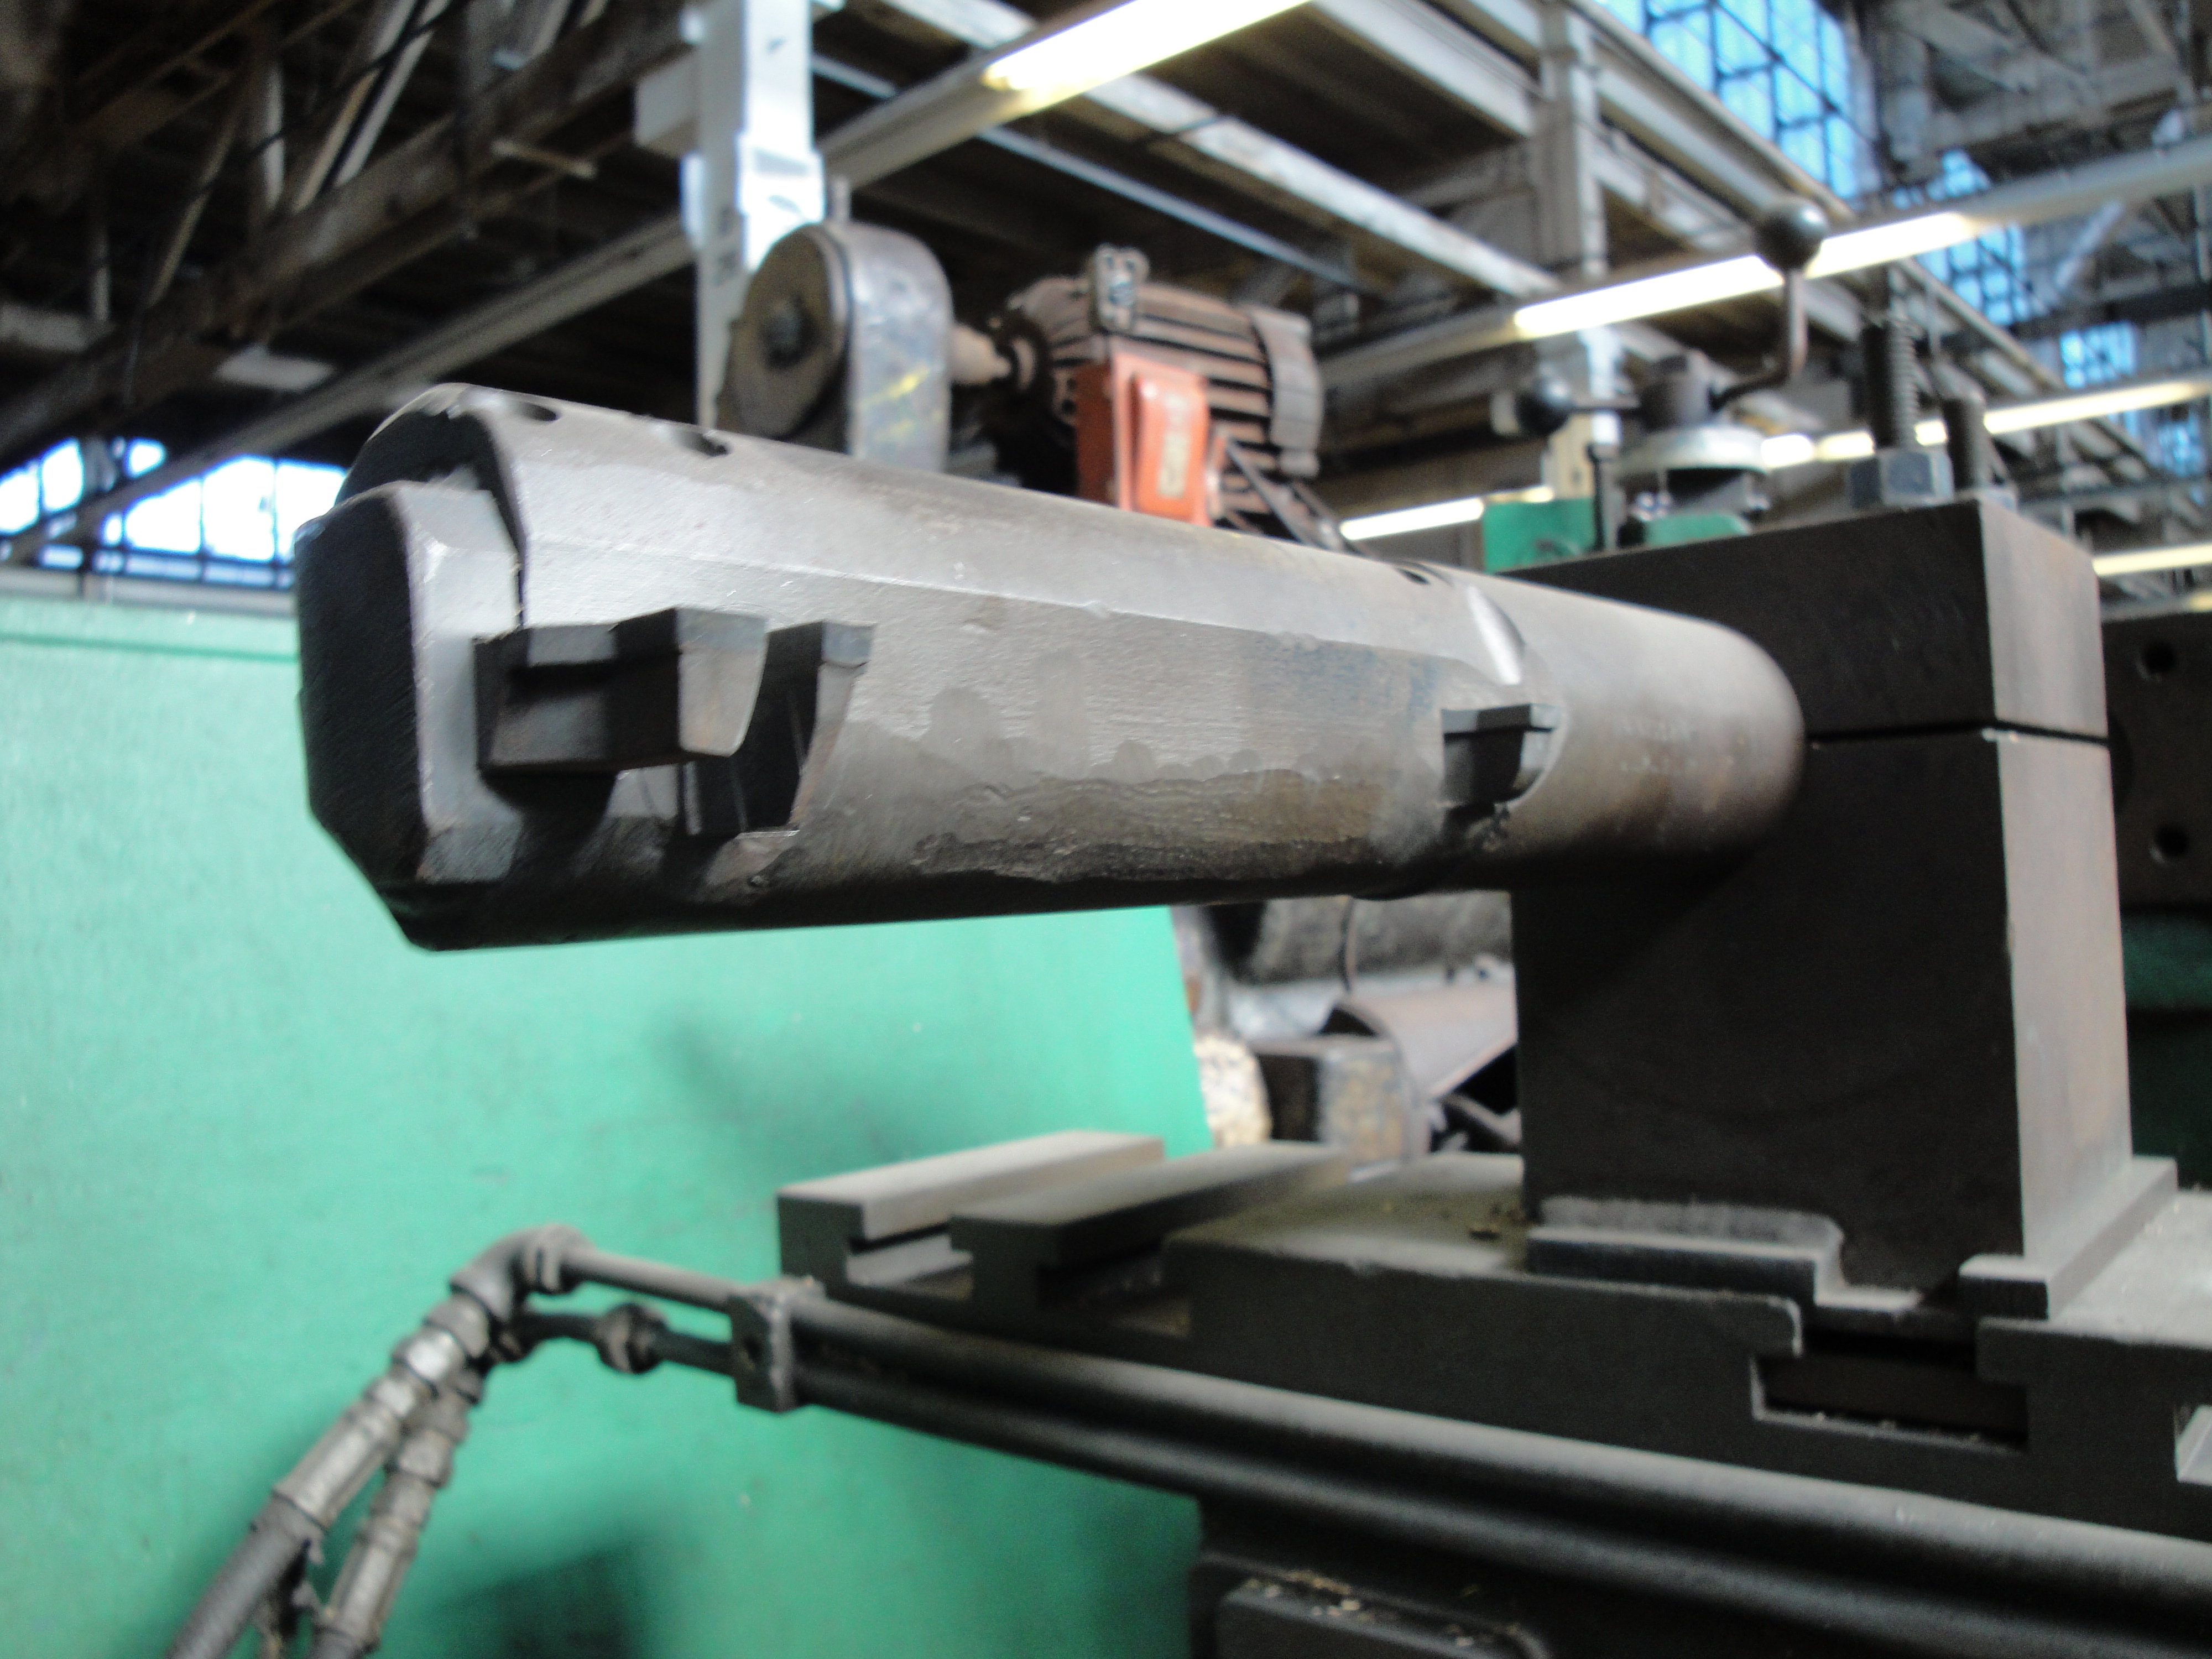
Boring (manufacturing)
In machining, boring is the process of enlarging a hole that has already been drilled (or cast) by means of a single-point cutting tool (or of a boring head containing several such tools), such as in boring a gun barrel or an engine cylinder. Boring is used to achieve greater accuracy of the diameter of a hole, and can be used to cut a tapered hole. Boring can be viewed as the internal-diameter counterpart to turning, which cuts external diameters.
There are various types of boring. The boring bar may be supported on both ends (which only works if the existing hole is a through hole), or it may be supported at one end (which works for both, through holes and blind holes). Lineboring (line boring, line-boring) implies the former. Backboring (back boring, back-boring) is the process of reaching through an existing hole and then boring on the "back" side of the workpiece (relative to the machine headstock).
Because of the limitations on tooling design imposed by the fact that the workpiece mostly surrounds the tool, boring is inherently somewhat more challenging than turning, in terms of decreased toolholding rigidity, increased clearance angle requirements (limiting the amount of support that can be given to the cutting edge), and difficulty of inspection of the resulting surface (size, form, surface roughness). These are the reasons why boring is viewed as an area of machining practice in its own right, separate from turning, with its own tips, tricks, challenges, and body of expertise, despite the fact that they are in some ways identical.
The first boring machine tool was invented by John Wilkinson in 1775.[1]
Boring and turning have abrasive counterparts in internal and external cylindrical grinding. Each process is chosen based on the requirements and parameter values of a particular application.
Limitations[edit]
For most lathe boring applications, tolerances greater than ±0.010 in (±0.25 mm) are easily held. Tolerances from there down to ±0.005 in (±0.13 mm) are usually held without especial difficulty or expense, even in deep holes. Tolerances between ±0.004 in (±0.10 mm) and ±0.001 in (±0.025 mm) are where the challenge begins rising. In deep holes with tolerances this tight, the limiting factor is just as often the geometric constraint as the size constraint. In other words, it may be easy to hold the diameter within .002" at any diametrical measurement point, but difficult to hold the cylindricity of the hole to within a zone delimited by the .002" constraint, across more than 5 diameters of hole depth (depth measured in terms of diameter:depth aspect ratio). For highest-precision applications, tolerances can generally be held within ±0.0005 in (±0.013 mm) only for shallow holes. In some cases tolerances as tight as ±0.0001 in (±0.0038 mm) can be held in shallow holes, but it is expensive, with 100% inspection and loss of nonconforming parts adding to the cost. Grinding, honing, and lapping are the recourse for when the limits of boring repeatability and accuracy have been met.
Surface finish (roughness) in boring may range from 8 to 250 microinches, with a typical range between 32 and 125 microinches.
Sometimes a part may require higher accuracy of form and size than can be provided by boring. For example, even in optimized boring, the amount that the diameter varies on different portions of the bore is seldom less than 3 micrometre (.0001 inches, "a tenth"), and it may easily be 5 to 20 micrometre (.0002-.0008 inches, "2 to 8 tenths"). Taper, roundness error, and cylindricity error of such a hole, although they would be considered negligible in most other parts, may be unacceptable for a few applications. For such parts, internal cylindrical grinding is a typical follow-up operation. Often a part will be roughed and semifinished in the machining operation, then heat treated, and finally, finished by internal cylindrical grinding.
The limitations of boring in terms of its geometric accuracy (form, position) and the hardness of the workpiece have been shrinking in recent decades as machining technology continues to advance. For example, new grades of carbide and ceramic cutting inserts have increased the accuracy and surface quality that can be achieved without grinding, and have increased the range of workpiece hardness values that are workable. However, working to tolerances of only a few micrometres (a few tenths) forces the manufacturing process to rationally confront, and compensate for, the fact that no actual workpiece is ideally rigid and immobile. Each time a cut is taken (no matter how small), or a temperature change of a few hundred degrees takes place (no matter how temporary), the workpiece, or a portion of it, is likely to spring into a new shape, even if the movement is extremely small. In some cases a movement of a fraction of a micrometre in one area is amplified in lever fashion to create a positional error of several micrometres for a feature of the workpiece several decimetres away. It is factors such as these that sometimes preclude finishing by boring and turning as opposed to internal and external cylindrical grinding. At the extreme, no perfection of machining or grinding may be enough when, despite the part being within tolerance when it is made, it warps out of tolerance in following days or months. When engineers are confronted with such a case, it drives the quest to find other workpiece materials, or alternate designs that avoid relying so heavily on the immobility of part features on the micro or nano scales.